SLO 2025 Battle Report Part 2
If you haven't checked out the overview of the event and the details of the list check out the first part of this battle report!
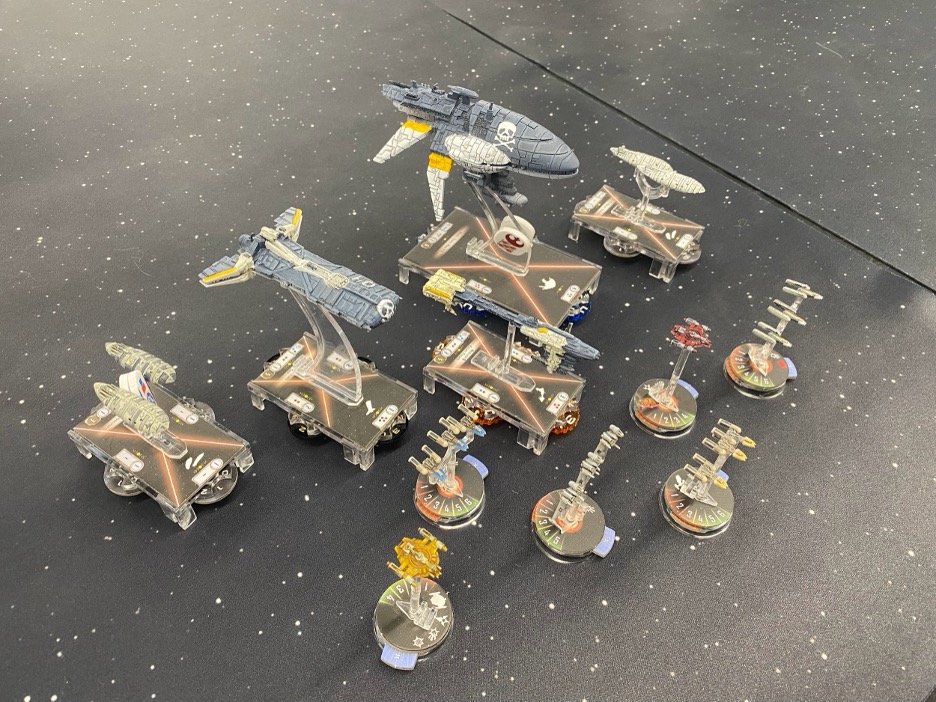
Saint-Lawrence Open 2025
The Saint-Lawrence Open 2025 Tournament occurred October 18-19 at the Abyss Game Store in Montreal (Quebec, Canada). James Chen (Maturin), who achieved 2nd place, writes about his experience with his Rebel fleet!
Game 1
Opponent: Murray aka “Murcanic”
Faction: empire
Commander: Darth Vader
Version: ARC01
Gladiator I (56)
• Ordnance Experts (4)
• External Racks (4)
• Demolisher (10)
= 74 Points
Gozanti Cruisers (23)
• Comms Net (2)
= 25 Points
Imperial II (120)
• Darth Vader [ARC] (28)
• Expert Shield Tech (5)
• Boarding Troopers (3)
• Early Warning System (7)
• Point Defense Ion Cannons (6)
= 169 Points
Onager Testbed (116)
• Governor Pryce (6)
• Sensor Team (5)
• Orbital Bombardment Particle Cannons (5)
= 132 Points
Squadrons:
= 0 Points
Total Points: 400
When I saw that I was paired up with Ottawa local Murray in my first game at SLO, I was both delighted and worried as she’s always a contender for the top spot. I’d never played against her though so I was eager for the experience. She likes to fly squadless, so I wasn’t surprised with her choice there. But I realized it’d been quite some time since I’d played against an Onager, so I was going to be rusty - and it showed during the game!
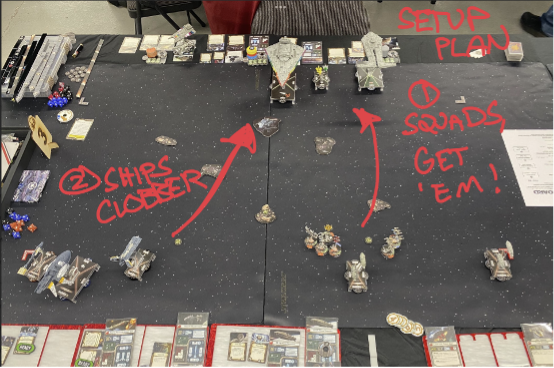
SLO 2025 Game 1, Turn 1
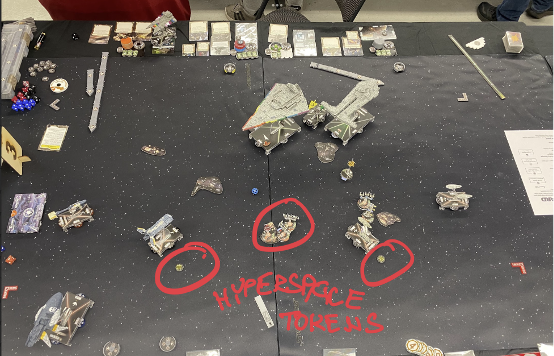
SLO 2025 Game 1, Turn 2
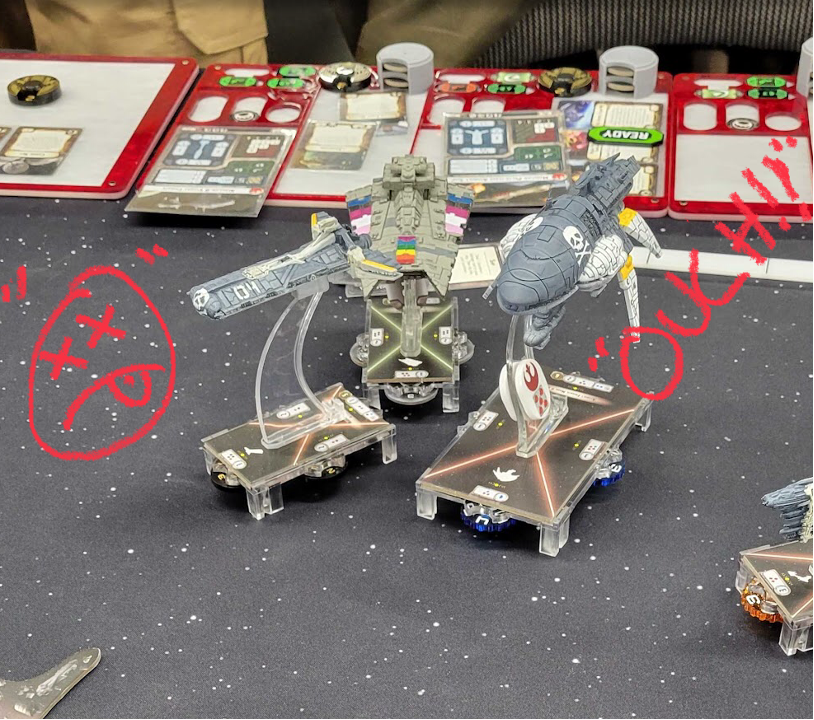
SLO 2025 Game 1, Fork
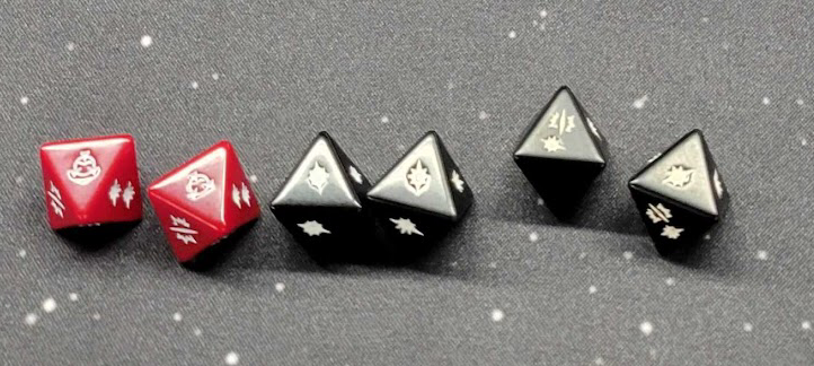
SLO 2025 Game 1, Deathblow
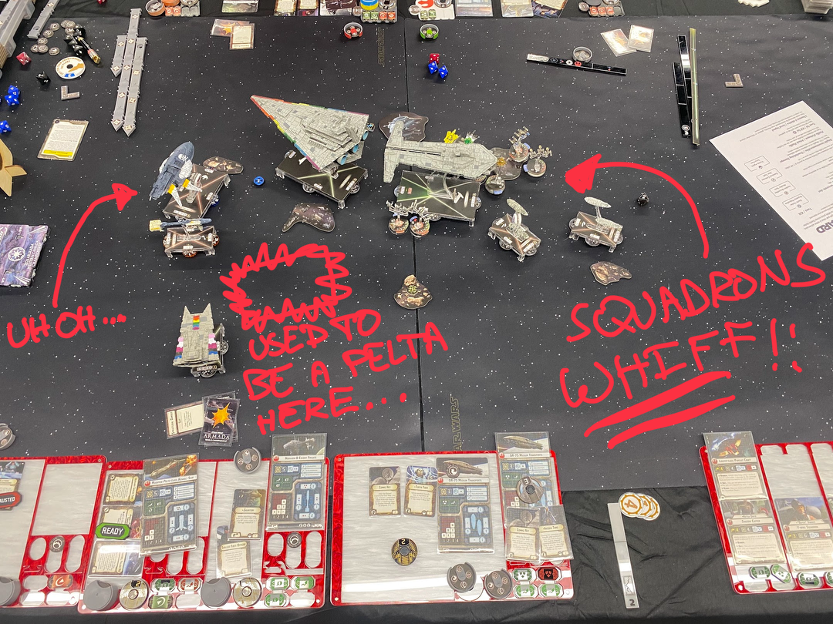
SLO 2025 Game 1, Post Pelta
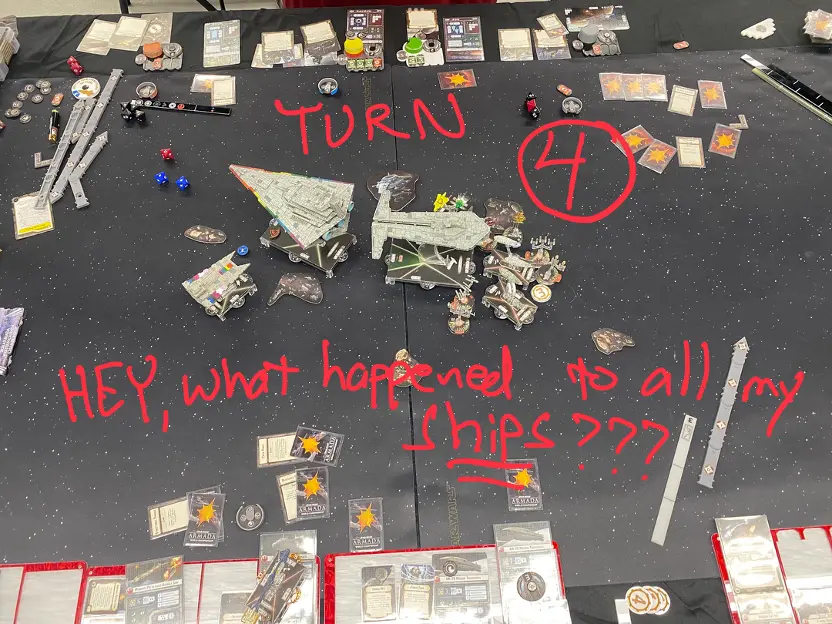
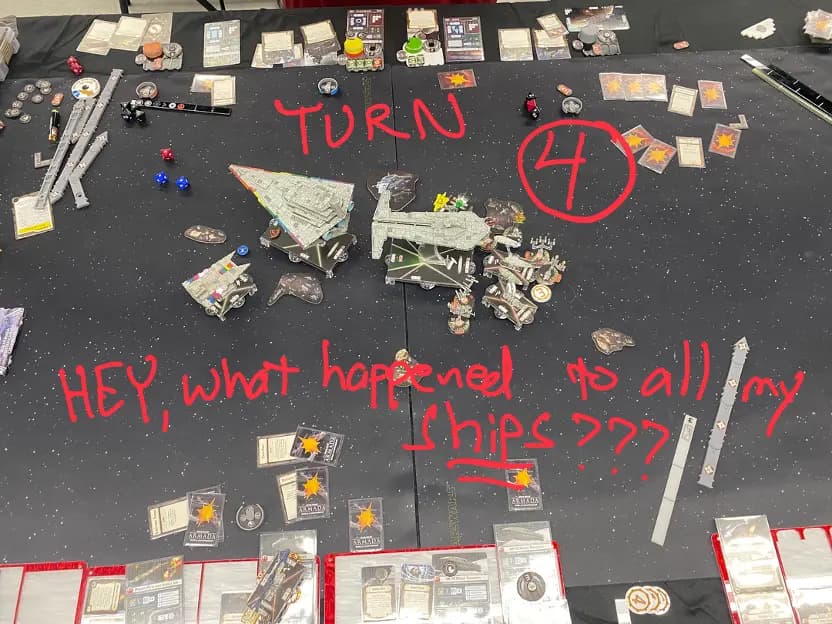
SLO 2025 Game 1, Turn 4
Murray had a BT ISD, Onager, Demolisher, and flotilla. I started the match off thinking I had a pretty good chance against a squadless fleet as Norra should help all those bombers strip down a large ship’s shields quickly. I chose Murray’s Hyperspace Assault even though she had a Demolisher in the list. I planned to send the squadrons up against the Onager, with Flotilla support, while the ships took their time circling in from my left side, giving the squadrons time to break down the Onager. The ships I deployed on the left, planning to be able to focus down the ISD with them. I kept Salvation and its fragile Nebulon sides furthest to the left, well away from potential Demolisher entry points, and figured the Pelta and AF could each take a Demolisher shot and survive. However this was a critical error, as the squadrons weren’t enough to take out the Onager on their own (average dice); likewise my ships weren’t enough to take on that ISD on their own - especially after Murray’s Demo dropped in and blew up my full health Pelta (5 damage, 2 accs, and a Structural will do that), and put the hurt on the Assault Frigate. My ships and squadrons were unable to mutually support each other while the Onager was assisting the ISD quite well, with its super long reach. The Nebulon and Assault Frigate both died on Turn 4 to concentrated fire from the ISD, giving Murray the tabling. It was a well deserved win for Murray. Vader really let her ships layer on the rerolls and significantly increase the damage floor of her ship attacks, most impressive indeed! I was disappointed to start Round 2 at the very bottom of the standings, but them’s the breaks and I resolved to do better in the next 5 games!
Result: 1-10 Loss
Game 2
Opponent: Mathieu Raymond
Faction: Republic
Commander: Plo Koon
Victory I (73)
• Plo Koon (26)
• Flight Commander (3)
• Fighter Coordination Team (3)
• Flight Controllers (6)
• Expanded Hangar Bay (5)
• Ordnance Pods (3)
• External Racks (4)
= 123 Points
Victory I (73)
• Flight Commander (3)
• Fighter Coordination Team (3)
• Flight Controllers (6)
• Expanded Hangar Bay (5)
• Ordnance Pods (3)
• External Racks (4)
= 97 Points
Consular Armed Cruiser (37)
• Radiant VII (1)
• Bomber Command Center (8)
= 46 Points
Squadrons:
• Anakin Skywalker (Delta-7) (24)
• Axe (17)
• 6 x ARC-170 Starfighter Squadron (90)
= 131 Points
Total Points: 397
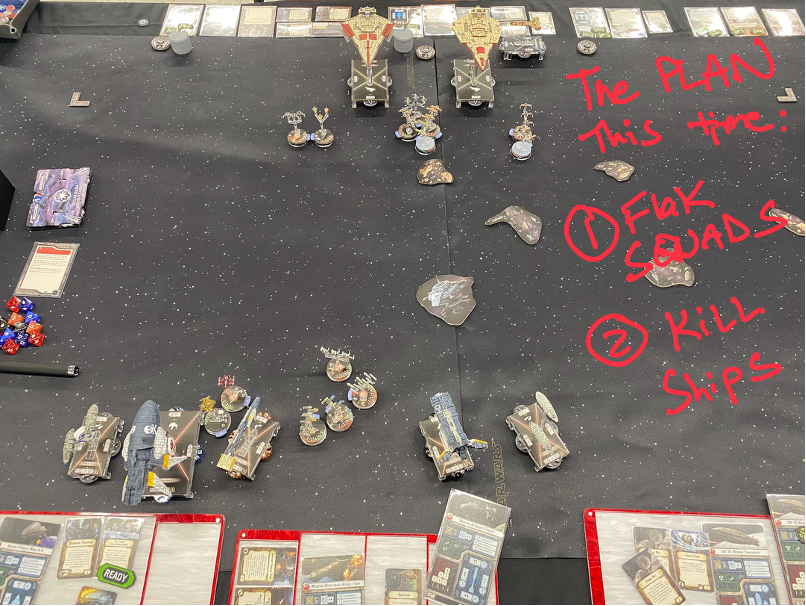
SLO 2025 Game 2, Turn 1
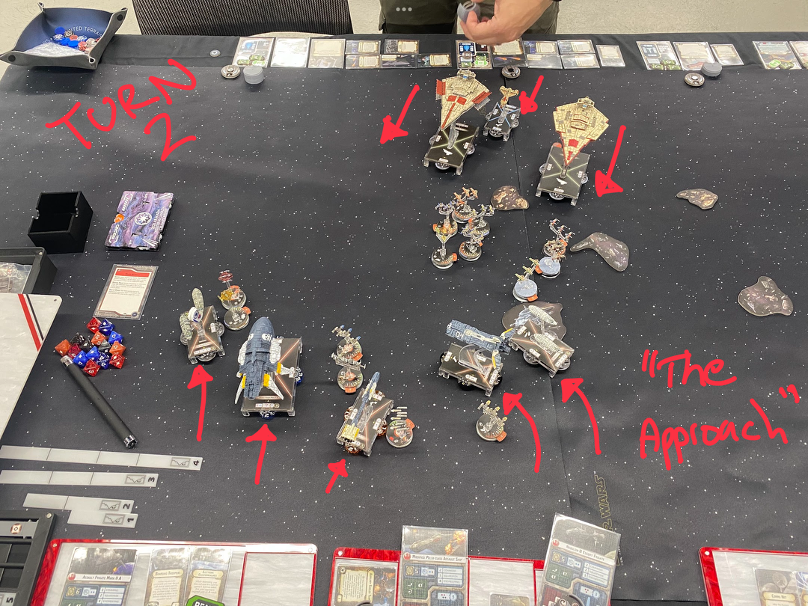
SLO 2025 Game 2, Turn 2
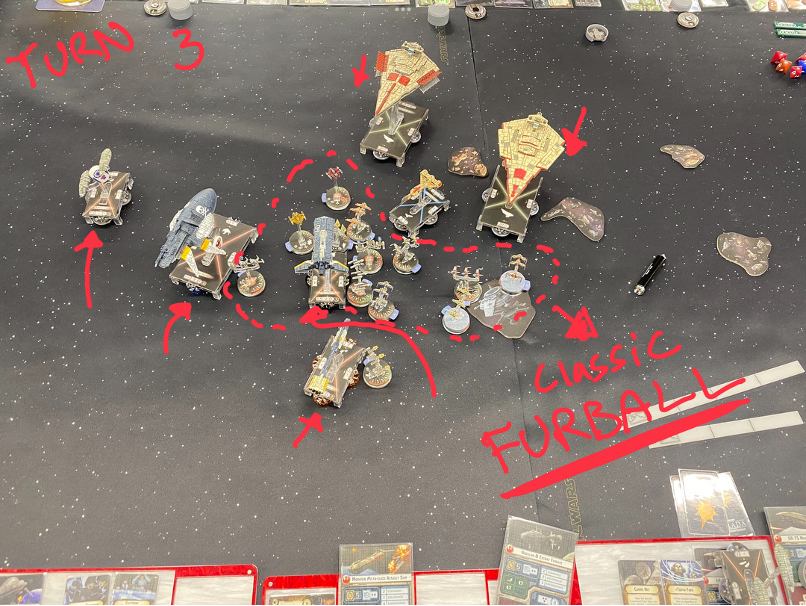
SLO 2025 Game 2, Turn 3
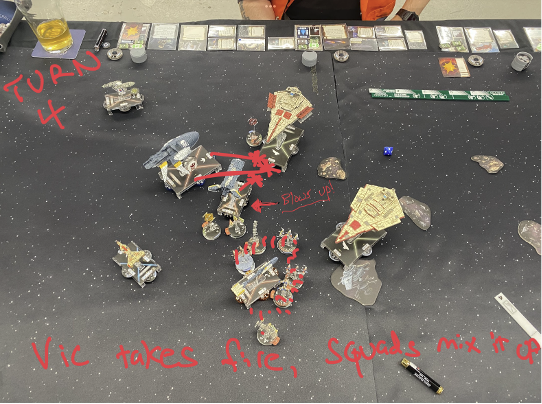
SLO 2025 Game 2, Turn 4
SLO 2025 Game 2, Turn 5
My second game was against the very awesome Mathieu, a Montreal local who happened to be wearing an extremely snazzy Rebel-themed jacket. He and I discovered we share a very similar sense of humour and we both enjoyed many a laugh during our game. Armada at its finest, at the bottom table!
My “other” faction is GAR, so I knew that his squadron ball was not going to be easy to take down. 7 hull on those beefy ARCs meant that I’d have my mouth full the whole game, chewing on hull points (all that roughage makes you regular though). At least his admiral was Plo Kloon, not Yularen. That said, I then proceeded to completely forget about Plo’s abilities - a critical mistake.
He had the bid and chose my Most Wanted, with his Flagship and my Ahsoka flotilla as objective ships. Deployment was predictable, his squadrons in front being pushed further forward by his Victories, while I executed my cunning plan to have the Pelta and Toryn flotilla cut left toward my other ships and the squadrons, flakking his squadball as they shot across the board, allowing my squadrons to pick off weakened ARCs. Brilliant! Except that I had completely forgotten that Plo grants auto-accuracies to squadron attacks; a few bombing runs later my Toryn was merely space dust glittering in the ether. This actually significantly hurt my anti-squadron plans as both my flak and my squadrons had just lost their rerolls.
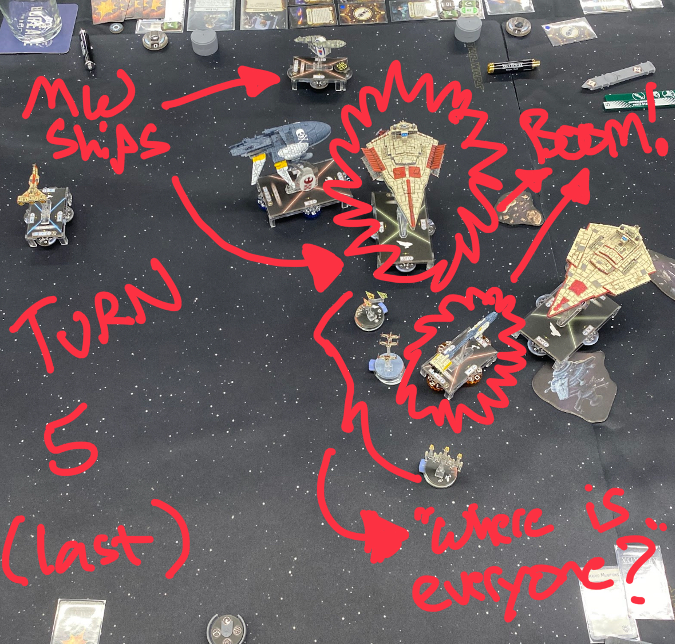
A generalized squadron melee broke out in the middle of the board, from which only two of his squadrons and one of mine emerged intact - losing antisquadron power meant I took much more return fire and lost squadrons accordingly. My Pelta and Nebulon both exploded during the fight (exposed sides are *bad* for the Neb!) due to squadrons and Victory front arcs. In return, his flagship (and MW target) took enough damage from the Pelta that finishing it off with the Assault Frigate felt like overkill, between the extra MW dice and the Boarding Troopers. Amusingly his consular managed to weave its way through the middle of the board and survive the chaos - well done, sneaky ship!
We ended the game on turn 5 due to time; I managed to eke out a 258-222 win after we added up all the points. It was a great game and Mathieu and I agreed we’d both had an extremely entertaining couple of hours, assisted by delicious beverages delivered tableside by the L’Abyss crew.
Result: 6-5 win
Game 3
Opponent: Luc-Alexandre Vendette
Faction: Rebel
Commander: Admiral Raddus
Starhawk Battleship Mark I (140)
• Admiral Raddus (26)
• Walex Blissex (5)
• Kyrsta Agate (5)
• Weapons Battery Techs (4)
• Quad Laser Turrets (5)
• Point Defense Ion Cannons (6)
= 191 Points
GR-75 Medium Transports (18)
• Toryn Farr (7)
• Comms Net (2)
• Bright Hope (2)
= 29 Points
MC75 Ordnance Cruiser (95)
• Lando Calrissian (4)
• Ordnance Experts (4)
• Reactive Gunnery (4)
• External Racks (4)
• Assault Proton Torpedoes (4)
• Aspiration (3)
= 118 Points
Squadrons:
• Shara Bey (17)
• Tycho Celchu (16)
• 2 x A-wing Squadron (22)
= 55 Points
Total Points: 393
SLO 2025 Game 3, Turn 1
SLO 2025 Game 3, Turn 2
SLO 2025 Game 3, Turn 3
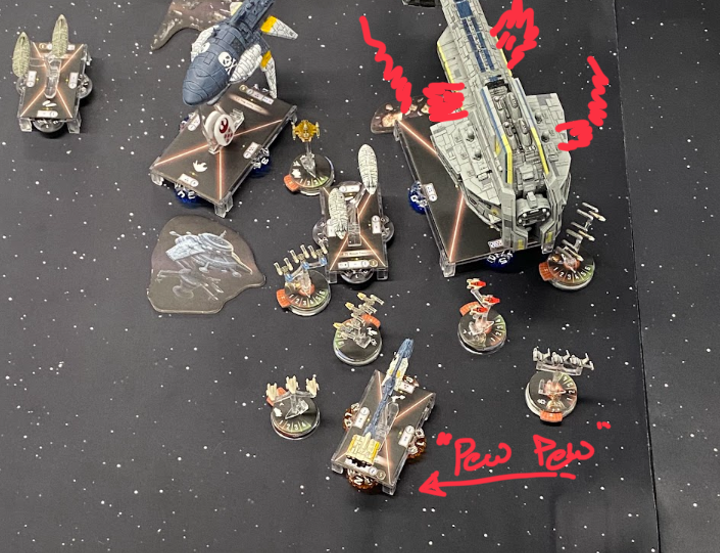
SLO 2025 Game 3, Turn 4
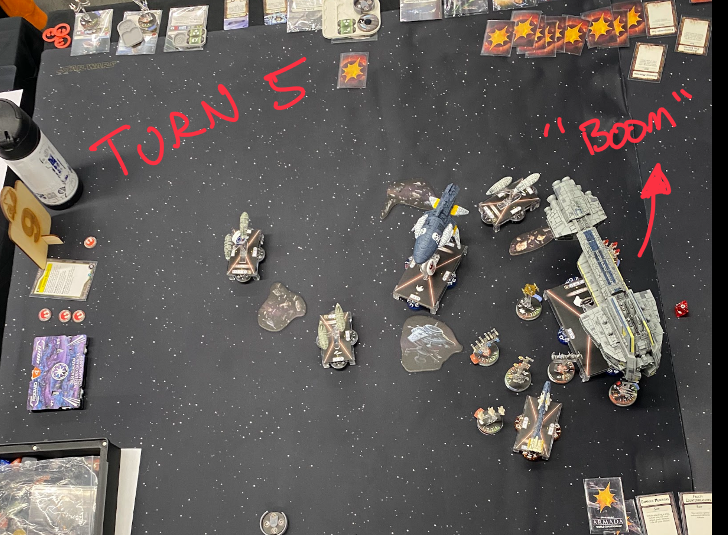
SLO 2025 Game 3, Turn 5
Game 3 found me at table 9 (out of 11), opposite Luc-Alexandre - another awesome player local to Ottawa, I believe. His Raddus Starhawk was the first Starhawk I’d faced in years (I don’t get to play *that* often), and the approach of that hefty chonk of plastic left my nerves tingling with awe and delight. Raddus would be dropping in Aspiration, another tough cookie with up to 6 shields on relevant sides when deployed. I wondered if my fleet would have enough firepower to take these ships down; I was quite sure they’d be in my face soon enough!
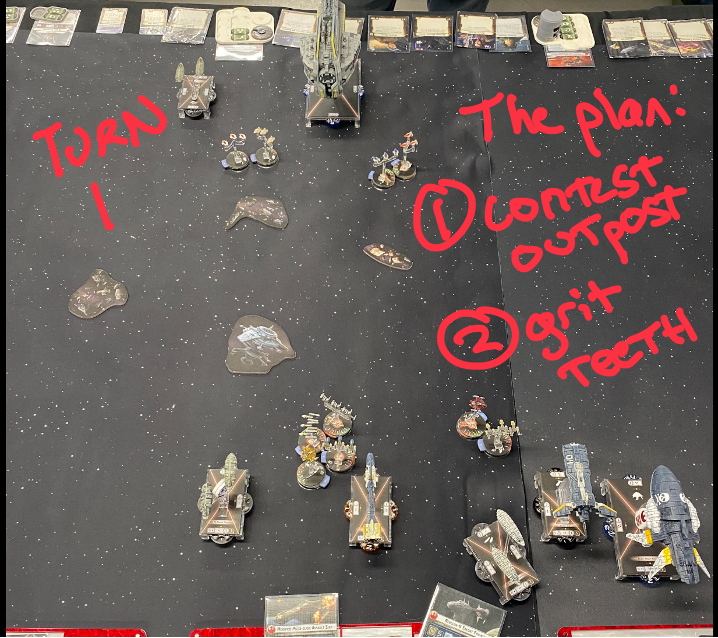
Luc-Alexandre had the bid, and after a little bit of thought chose my Contested Outpost. Fine - we know where the fight’s going to happen! I positioned a flotilla close enough to snag the Outpost on turn 1, but the majority of my fleet deployed to my right. I thought Luc-Alexandre might drop in on the station with the Mc75, and wanted to give my fleet the option of long range harassing fire to soften up either ship. My Salvation deployed at speed 1 opposite the Starhawk, trusting in a slow approach, its front arc shields, and red dice to keep it safe. I set up my squadrons to be able to deny Raddus a drop zone too close to the station.
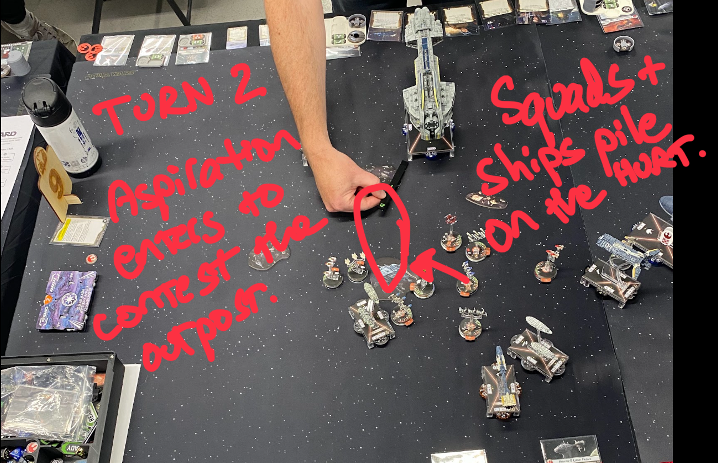
On his turn 2, he opted to drop the Aspiration in and contest the outpost. He dialled up the shields to “6” and PLOPPED the ship down. Unfortunately for him, the only space I’d left him (within Contesting range) meant that Aspiration would be taking fire from my Pelta and Salvation, in addition to bombing runs from my squadrons. He hadn’t dialled up any squadron commands, so his A-wings were unable to prevent my own squadrons from getting very lucky with multiple Norra-boosted criticals. My squadrons were finally in their element - Toryn boosted double dice bombing runs took down Aspiration’s 6/6 shields quickly. The Pelta got lucky with an APT critical, and Salvation piled on the damage with excellent rolls. All in all, a very fortuitous chain of events for me as Aspiration went down in a single turn.
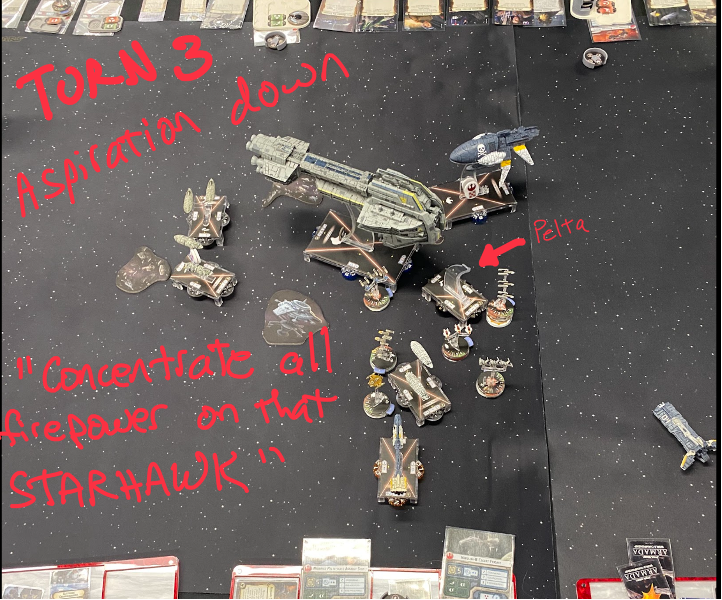
This left the Starhawk, which had no choice but to cruise forward into the maelstrom. Luc-Alexandre turned hard to port to get the Pelta in the Starhawk’s sights, while still Contesting the Outpost. The Pelta made a suicidal run into the Starhawk’s front arc and exploded gloriously, but took the pressure off of the Assault Frigate which arced around and triggered its Boarding Troopers on Turn 3, targeting the brace and redirect tokens. A tasty AF2A double arc meant the Starhawk was hurting after the first activation, and Salvation followed up with even more pain. By this point Luc-Alexandre’s fighter cover was scrambling to cover their burning flagship’s front arc, but this resulted in overlaps after movement and I was able to repeatedly position them out of the way. Eventually the Starhawk succumbed and the game ended on turn 5. This was the first game this weekend where the AF2A proved its mettle as a brawler. The extra blue die in the front and rear arcs may seem a minimal addition, but it often pushes the damage output up from two to three, which is great when trying to stress brace and redirect tokens.
We had some time before the next game and were able to relax and discuss the game a bit. Later that evening we sat across from each other at supper and I learned a lot about his work as one of the leaders in the Canadian Armed Forces Reserves, an important role (soon to be higher profile) and my hat’s off to you! Hope to play again next year!
Result: 10-1 win
Make sure to keep watch for the final part of this battle report to see how James pulls out 2nd place in the tournament!